Quick & Easy Colorful Ground Poles – No Painting Required
Updated June 28, 2023
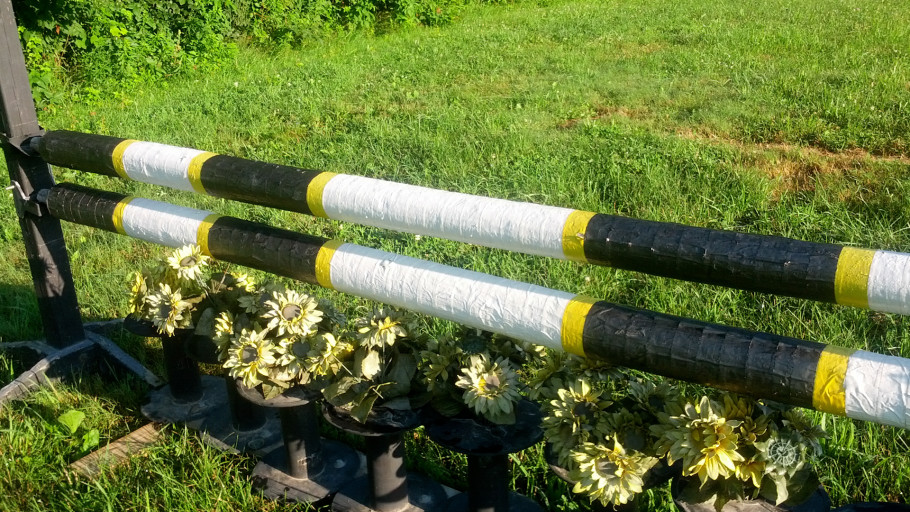
Are you tired of your plain wooden or PVC trot poles but don’t want to devote a ton of time and effort into jazzing them up? Consider using duct tape instead of paint for a quick and easy solution to creating colorful and appealing jumping poles! You can easily design them exactly how you’d like and have a refreshed, custom jump course for you and your horse in no time.
In this article, we’ll explain why using duct tape is a great choice and how you can plan your design and execute it seamlessly for refreshed rails!
Benefits of Using Duct Tape vs. Paint
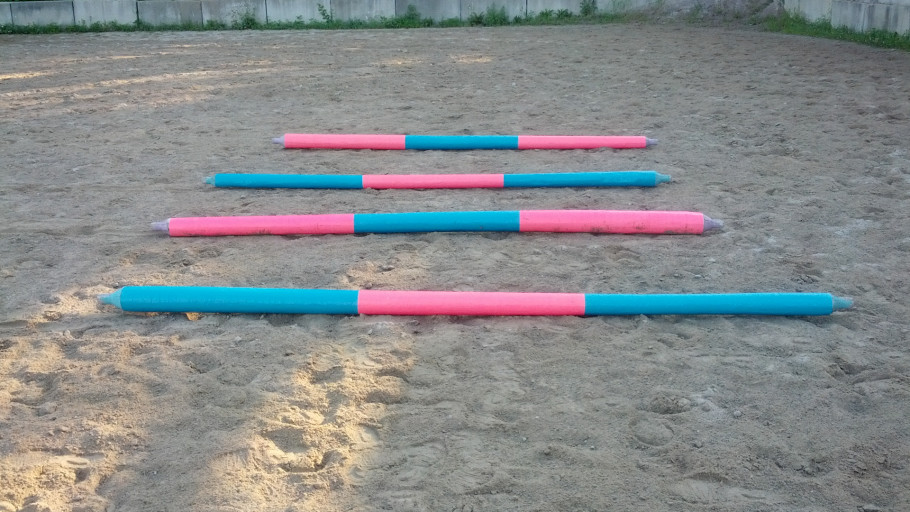
Painting rails can be messy, time-consuming, and require lots of extra supplies such as drop cloths, brushes, gloves, buckets, water, paint thinner, paint stirrers, etc. In comparison, the duct tape method only requires the tape in your preferred color, a measuring tape, scissors, and a helper (if you’d like). There are so many great reasons to give this a try! If you’re using PVC poles, you really only need to tape the sections of color as the white parts can serve as their own “stripes.” Here are a few other benefits of using this method:
- Much easier to use than paint – less messy and no clean-up.
- You can use the poles right after you tape them!
- Long lasting.
- Weathers better in the sun (no fading).
- Water can’t get in to break down the wood.
- Helps prevent wood splinters and no paint chipping.
- Works on wood or PVC.
Start With a Plan
Like any good project, you’ll want to come up with a plan of action for your ground pole design before you get started. You’ll also want to work in a clean, dry environment for the best results, and make sure you have all of your tape colors and designs determined ahead of time. Do you want to do stripes or a solid color? Dark colors are usually a good option for visibility, but bright colors can be more eye catching, especially for young riders. Consider incorporating colors like blue, purple, red, orange, yellow, pink, brown, green, and black.
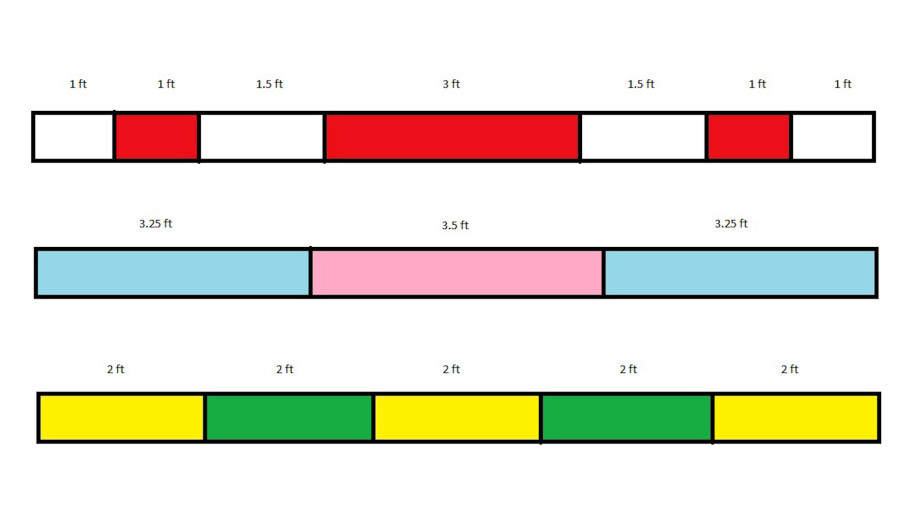
For a very simple design, even two feet sections are easy to map out. Feel free to get creative! Follow these tips to prepare:
- Refer to magazines, pictures, and social media for design ideas and inspiration.
- Decide how many stripes you want to put on each pole.
- Brush off the dirt on the trot poles with a stiff brush.
- Lightly sand poles with sandpaper if they have already been painted.
Measure and Mark the Pole(s)
Now that you’ve got a good plan in place, it’s time to measure and mark out your rails before you go ahead with taping on your striped colors. Use your tape measure here for accuracy and follow the steps or watch the video below:
- Start at one end of the pole and use a tape measure to mark the distance between your different blocks of color with a pencil or marker. Pro tip: for lesson kids make the center stripe wider so they can aim for the middle!
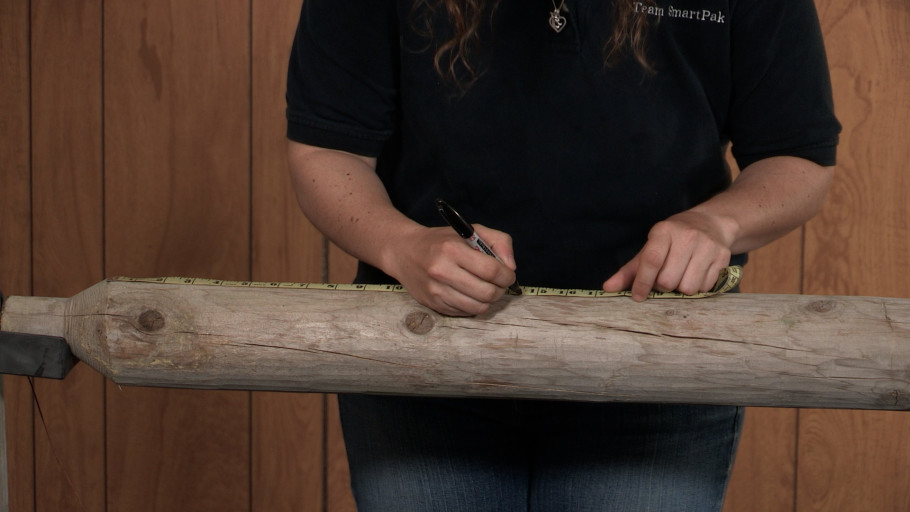
- After reaching the middle, duplicate your marked sections on the other end of the pole.
- Use a measuring tape to measure the circumference of the pole to determine how long each piece of tape should be.
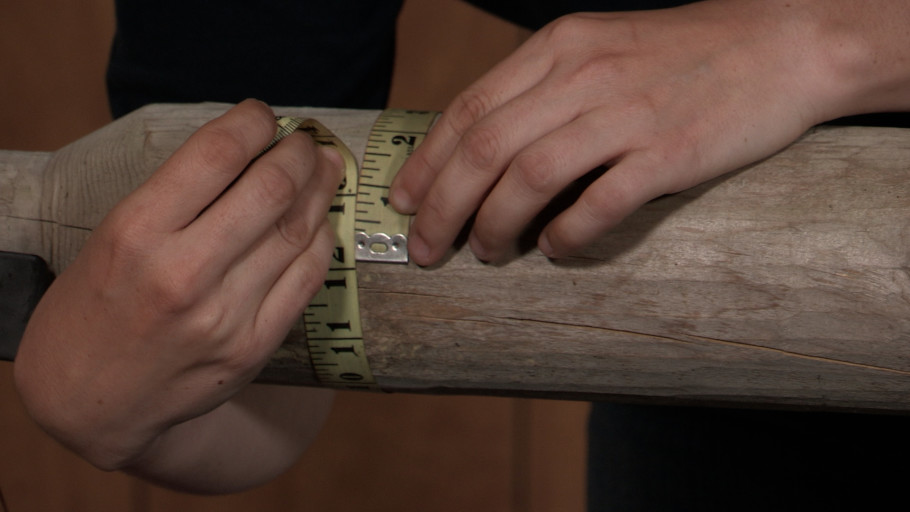
- Cut piece of tape and line up so it’s 90 degrees to the pole and wrap around so it lays flat (This part is much easier with a helper!).
- Overlap each section of tape slightly for full coverage.
- Continue with each colored tape section until your pole is complete!
How-To Video on Quick and Easy Ground Poles
Voila! Now you’ve got some awesome new jumping poles for your horses and riders. We hope that you enjoyed learning about this project and that you have a ton of fun using your new ground poles for patterns or jumping courses. For more great products to add to your arena, check out our flower boxes, jump blocks, cross country flag poles and more arena supplies.

